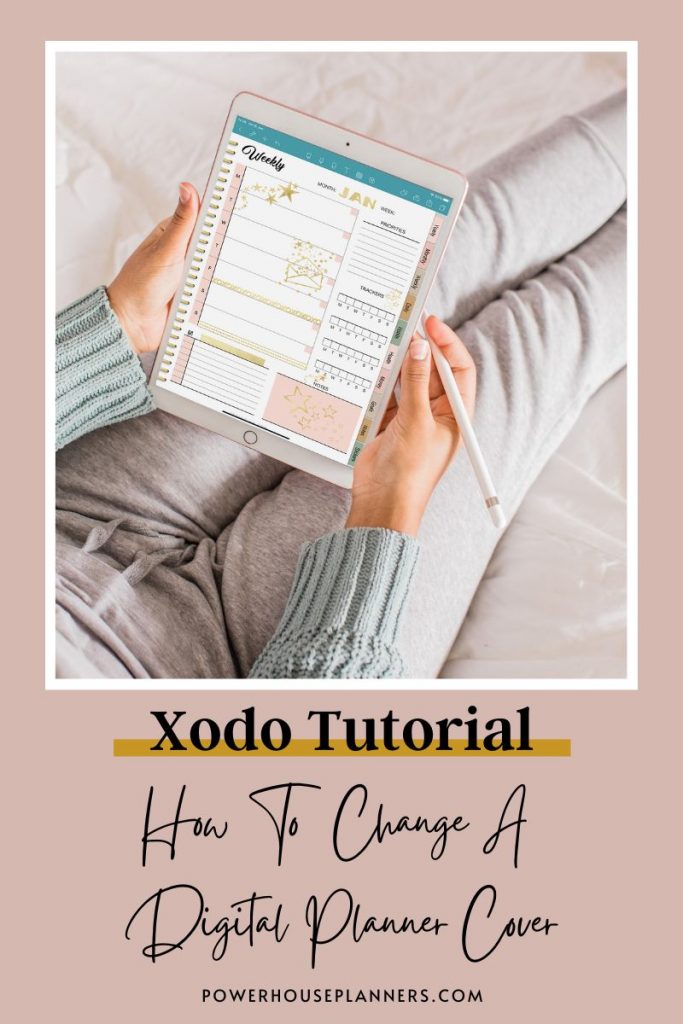
New to Digital Planning on an Android tablet? If you are using Xodo for Digital Planning this tutorial will show you how to import a digital planner in Xodo.
If you are an Android device user it can be frustrating to see that most note-taking apps recommended for digital planning (except Noteshelf) are designed for iOS/iPadOS and not for Android.
There is good news though.
Xodo is a cross-platform app that is designed to be used with any phone or tablet. In fact, you can access it from your desktop or laptop too simply by using their web app.
I recommend Xodo for any digital planner newbie (regardless of their device of choice) because it’s free.
This means that you can get a pretty good idea if you like the concept of planning digitally by trying it first without having to spend any money.
Want To Try Digital Planning For Free? Check Out My Free Digital Planner and more HERE
So let’s go ahead and find out how you can add digital planners to the Xodo app.
We may get commissions for purchases made through links in this post. For more information go to Disclaimer & Disclosure.
How To Add A Xodo Digital Planners On Android
In the video above I show you how to import the digital planner to Xodo on an Android tablet.
I’m using my old Samsung Galaxy S2 Tab to insert the planner into my Xodo account. This may mean that your interface could be slightly different on newer devices but you will still be able to follow along.
I wanted to demonstrate the use of Xodo on an Android tablet, because I know many Android users choose this application for digital planning. It can be hard to learn though as many tutorials are for iPad users and the interface of Xodo on Android is different from the interface on iPad.
Thinking Of Trying A New Android Digital Planning App? Check Out Penly’s Features HERE
1. Import A Digital Planner In Xodo
So let’s get started.
Be sure to have your Digital Planner downloaded onto your device before you follow the next steps. If you have your Digital Planner on the Cloud, skip along to the next heading to find out how to import a document to Xodo.
Looking for a great Digital Planner for android? Check out our best Android Digital Planner HERE
When you open your application you will get a view of your library.
In the video, you will see that I have only one document. However, usually, I have mine sorted to show my most recent documents. I find this a great way to be able to access my Digital Planner quickly and efficiently.
From the library press the ‘plus‘ sign. This will open up some options.
Next tap to add a ‘PDF from documents’.
Digital Planners come as PDFs so this will be the option you will always select to import a digital planner in Xodo.
You will next have a window with all your documents so you can search for the file that is your Digital Planner.
Tap to select it. This will make a copy of your file into Xodo and you can start Digital Planning straight away.
2. How To Import A Digital Planner In Xodo From The Cloud
You can also import files if your digital planner is not in your download folder.
Tap on the top left corner tab on your library to see all the options for where you can find your document.
In the video, I have an SD card in my tablet so I can get my files from there with this option. It is also possible to get a document from your file system and also from any of the cloud services.
And that’s how you import a digital planner in Xodo, so simple.
Now you’re ready for some digital planning.
New to Xodo? Find more helpful Digital planning Xodo tutorials below.
MORE XODO HOW-TO GUIDES:
PIN FOR LATER!


