Want a quick GoodNotes tutorial for digital planners? Learn the basic tools that you need to use in GoodNotes for digital planning with this easy GoodNotes guide.
If you are a beginner at digital planning on iPad you might be feeling overwhelmed with the PDF planner apps available and how to use them.
GoodNotes is a very popular note-taking app that many planners use for their paperless planning.
In this post, I am going to go through all the digital planner GoodNotes features that will help you get started on your Digital Planning journey. It is really easy once you begin and you will love using your Digital Planner with GoodNotes in no time at all!
So let’s get started!
We may get commissions for purchases made through links in this post. For more information go to Disclaimer & Disclosure.
How To Use A Digital Planner In GoodNotes
Let me give you a quick rundown of the tools available to you in the documents area.
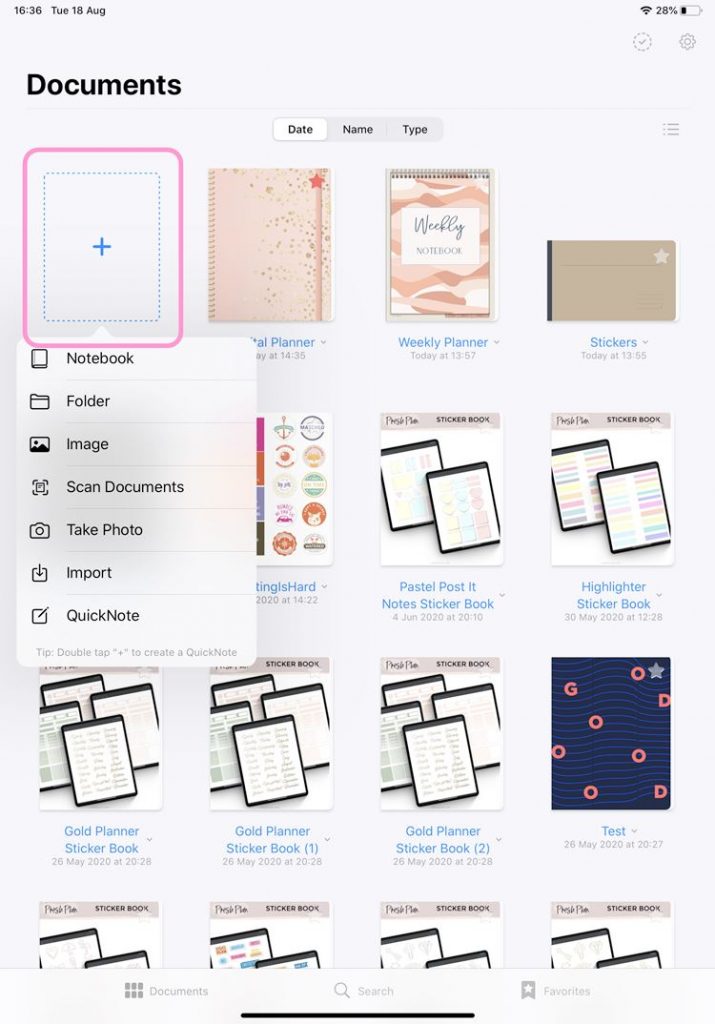
When you open your Goodnotes app, you will find all your notes and digital planners in the ‘documents’ area’.
In this area you can select items to export, duplicate, move or delete.
If you click on the ‘plus’ sign you can import a document or create a new one from scratch.
Don’t worry if this is new to you. I show you how to import documents to GoodNotes HERE, if you aren’t sure how to do it.

At the top right of the screen, you will find the ‘settings tab’ with more options as well.
When it comes to notebook templates you can choose from a variety of covers and paper templates. There is even a free digital planner GoodNotes template. This is quite minimalist but you may find that it is a good option to start with (these have no hyperlinked tabs though which I find is a must-have feature in any Digital Planner).
Looking for a Digital Planner For Goodnotes? Try our Digital Journal Kit…we promise you are going to LOVE it!
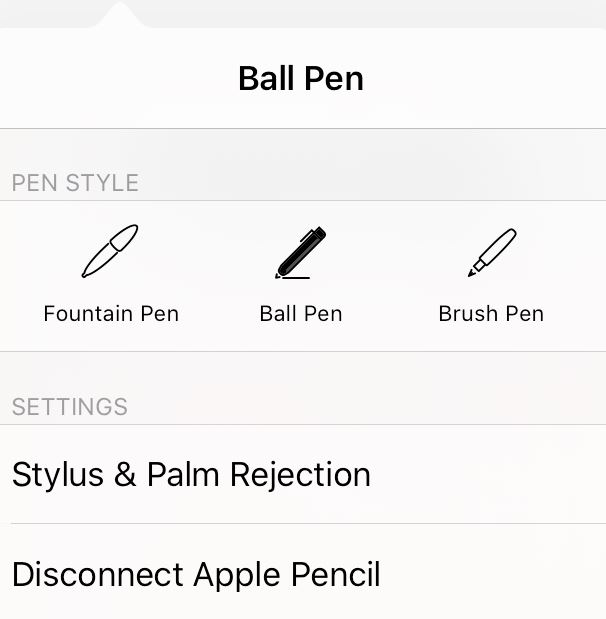
Further along when you tap the gear symbol is separate settings area where you can add backup information, check your stylus settings and handwriting recognition too.
GoodNotes Tools And Digital Planner
So, let’s start by opening a new document.
At the top of the app, you will find the dashboard with all the tools that you are going to need for your Digital Planner.

At the top of the screen, you will see a pen symbol with a line through it like in the image below. To use the hyperlink tabs on your digital planner you need to make sure that you turn this setting on, so that you can click on the links instead of using the pen tool.

When you click on a tool on the left you find separate options for these tools on the right-hand side of the dashboard.
For instance, here on the ‘pen’ tool, I can change the color and the nib size of the pen:

Want More Goodnotes Tutorials? Learn How To Use Goodnotes HERE
If you click twice on any tool you get an extra set of options.

Besides the ‘pen’ tool you have the ‘eraser’ and the ‘highlighter’ tool.
Then the ‘shape’ tool helps you create shapes easily such as circles, squares, and triangles.
Here you will also find the ‘lasso’ tool. This is one of the most important tools for Digital Planning. With the ‘lasso’ tool you can select text or graphics inside your planner and then edit, crop, or move them around any page or any notebook. It makes using your Digital Planner so much quicker and easier.
The ‘image’ and the ‘camera’ tools let you add graphics to your planner.
The ‘type’ tool is great if you prefer typing your notes to handwriting them. Here you can also edit the text by increasing the font size or making the text italic or bold.
And on the ‘add page’ sign you can add images, scan documents or import more pages to your notebook.

Further on a ‘pages’ tab, is where you can see all the pages of your document. You can reorder them, or delete or duplicate pages as you wish.
Next is where you can search inside the document, tag pages that are important, and export your files.
One thing that I really love about GoodNotes is that you can see your recently opened documents here together one beside each other.
For me, it means that I can easily grab digital planning stickers from other documents. I can just simply switch the tabs to grab the sticker and then go back to my document and paste it.

Check out my tutorial on how to add stickers to GoodNotes.
And once you get used to this kind of digital planning you may find that you can simply do everything that you are used to doing with your paper planner and more, and decide you don’t want to use paper anymore.
Remember to watch the video tutorial at the start of this post to see just how easy all these features are to use with your Digital Planner.
Want To Learn How To Create Your Own Digital Planner?
Learning how to make a digital planner isn’t as hard as you think. Check out this super easy-to-follow course below.
more GoodNotes digital planner tutorials
PIN FOR LATER!


