Learn how to add covers to your Notability digital planners app and follow the easy Digital Planner tutorial on how to change digital covers in Notability.
If you have recently purchased a Digital Planner you may find that it comes with multiple covers to choose from. Or maybe you have purchased a new Digital Planner cover separately because you wanted to upgrade the look and style of your Digital Planner ( I personally love to do this for different seasons throughout the year).
Now you need to learn how to change the front page of your document in Notability!
Here’s a quick tutorial on how to change a planner cover in the Notability app that is perfect for Digital Planner beginners.
There are two different ways how to add a cover in Notability planner, these are:
- Changing the cover from inside the document
- Inserting a new cover to the application
Both are very easy, so let’s find out how to do it!
We may get commissions for purchases made through links in this post. For more information go to Disclaimer & Disclosure.
How to Import Covers To Notability
Here are the 2 ways that I change a cover in my Notability Digital Planner.
Want A Gorgeous New Planner Cover? Check out these beautiful Digital Planner Covers HERE
Method 1: Change Covers In Notability
Firstly, open the app to get started.
Next tap on the document that you want to change the cover for.
This method is perfect if you want to change the cover of a document when your notebook or digital planner has the extra pages included in the file. You may have downloaded files like this when you have purchased a new Digital Planner online such as through Etsy.
In this example, I have a blackout notebook where I have 4 covers to choose from.
Tap on the ‘double page’ sign which is on the top right corner.
You can reorder pages by holding, dragging, and dropping the page in another position inside the document.
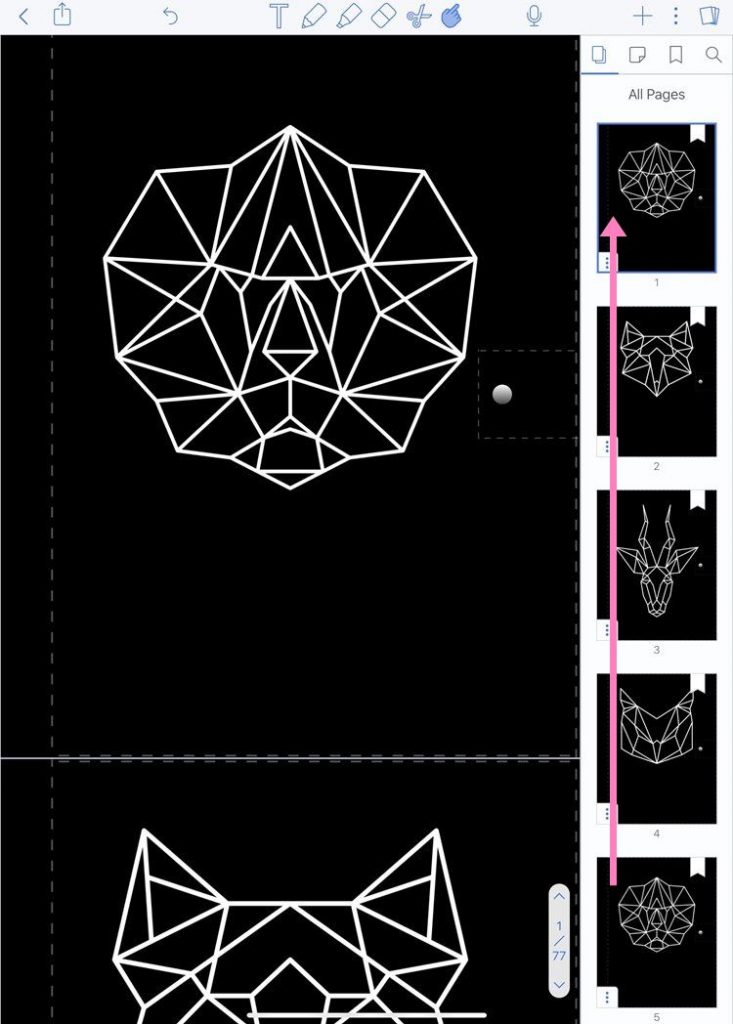
Simply choose your preferred cover and drop it in the 1st position of the document.
This will then make the cover you have placed in the first position of the document as your new planner cover.
Method 2: Add Covers To Notability Digital Planner
The second way to change Digital Covers in Notability is used when the extra covers are not included inside the document or Digital Planner.
This can happen when you buy different notebook covers or create your own Digital Covers.
Unfortunately, the page settings option is quite limited in Notability. As you will see when you are inside the app, you cannot just simply add a new page to a document as you would be able to in many other digital planner apps.
But don’t worry, there is still a way to do it.
Open up your Notability app.

The workaround solution is to add a new blank page and then add a jpeg image to that page.
Tap on ‘Add Page’ which is at the right of the app screen. Once you have added a blank page you can add the image to that page which you want to use as your cover.
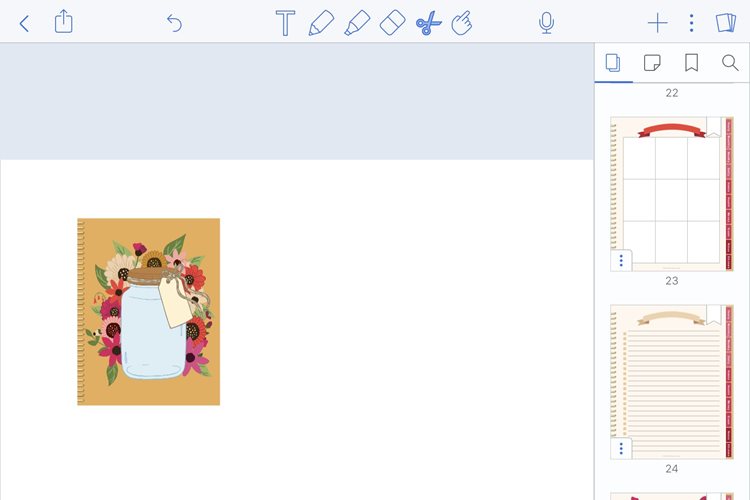
Next, you will need to resize the image it to fit the page.

Now you can drag and drop it to the first position of the document which will make it the new front cover of your planner.
Looking for a Digital Planner For Notability? Try our Digital Journal Kit…we promise you are going to LOVE it!
If you are new to using Notability for Digital Planning be sure to check out my other Notability tutorials below.
More Notability Digital Planning Posts:


PIN FOR LATER!
